
Home Exercise Library
Pelvic Tilts (lying and standing)
Demonstration video: Supine Posterior Pelvic Tilt (OrthoIndy). Follow the steps on this page if the video differs.
In our programs
- Low Back and SI Joint, Phase 1 LB-1 #2
- Low Back and SI Joint, Phase 2 LB-2 #4
The dose and steps can differ by program.
Low Back and SI Joint, Phase 1: Pelvic Tilts LB-1 #2
Wake up low back motor control
Photos
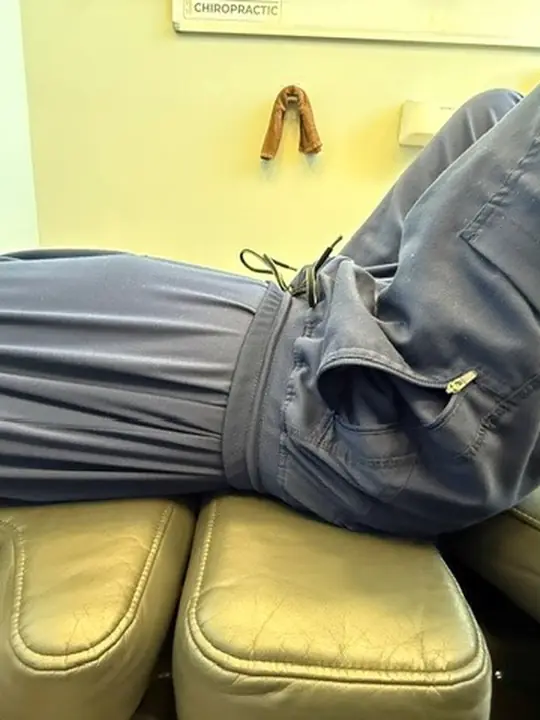
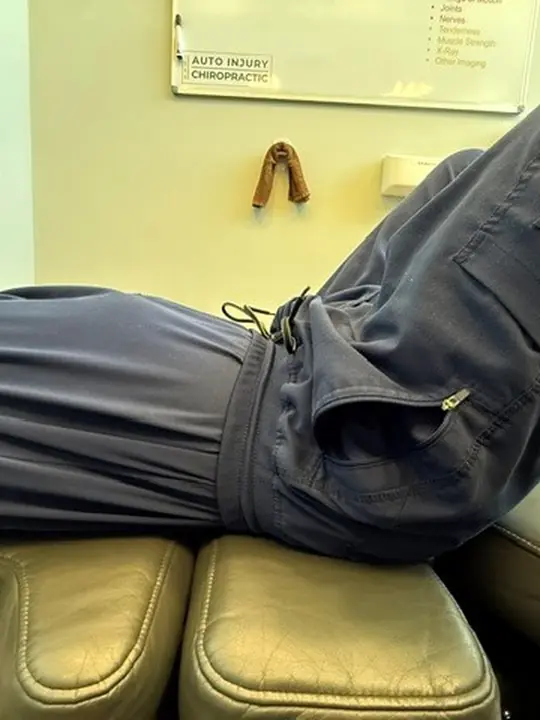
Why it helps
Your pelvis can rock forward and backward. After an injury, this motion gets stuck. Pelvic tilts wake up the small muscles that control your low back and pelvis, and teach your brain that gentle motion is safe.
How to do it
- Lie on your back with knees bent, feet flat on the floor, about shoulder width apart.
- Find your natural low back curve. There should be a small space between your low back and the floor.
- Tilt your pelvis backward by pressing your low back flat into the floor. Like trying to flatten a fold in a sheet under you.
- Hold 3 seconds. Then tilt your pelvis the other way, lifting your low back slightly away from the floor.
- Hold 3 seconds. Slowly switch back and forth. Do 10 full rocks.
Too hard? Try this
Just do the flatten-to-floor part. Skip the lift-up part. Or hold each position only 1 second.
Too easy? Try this
Add slow, controlled breathing: inhale as you tilt one way, exhale as you tilt the other.
Common mistakes
- You move from your hips and legs instead of your low back.
- You tighten your buttocks hard to push your back down.
- You go too fast and bounce.
You should feel
- Small, controlled motion in your low back.
- Your low back feeling like it is waking up.
You should not feel
- Sharp pain in your low back.
- Pain shooting down a leg.
Stop right away if
- Sharp pain shooting down your leg.
- Numb or tingly leg or foot.
- Sudden weakness in a leg.
If you are one of our current patients, call the clinic and inform your provider right away, or seek emergency care right away. For a life-threatening emergency, call 911.
Low Back and SI Joint, Phase 2: Standing Pelvic Tilts LB-2 #4
Carry awareness to standing
Photos
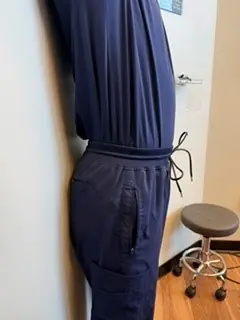
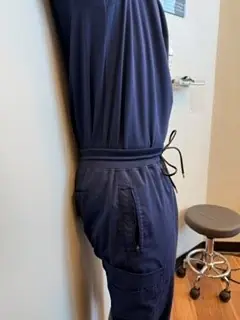
Why it helps
Last phase you did pelvic tilts lying down. This phase you do them standing, which is how you actually need to control your low back during real life: at work, in line, doing chores.
How to do it
- Stand with your back flat against a wall if you can. Heels about 6 inches from the wall. Knees slightly bent.
- Find your low back curve. There should be a small space between your low back and the wall.
- Tilt your pelvis backward by pressing your low back flat into the wall.
- Hold 3 seconds. Then tilt the other way, lifting your low back slightly away from the wall.
- Slowly switch back and forth. Do 10 full rocks.
Too hard? Try this
Skip the lift-away phase. Just practice flattening to the wall.
Too easy? Try this
Do them without the wall. Or hold each end position for 5 seconds.
Common mistakes
- You move from your knees instead of your low back.
- You squeeze your buttocks too hard.
- You hold your breath.
You should feel
- Smooth control of your low back.
- A reset feeling in your spine.
You should not feel
- Sharp low back pain.
- Pain shooting down a leg.
Stop right away if
- Sharp low back pain.
- Pain shooting down a leg.
- Dizzy when you tilt.
If you are one of our current patients, call the clinic and inform your provider right away, or seek emergency care right away. For a life-threatening emergency, call 911.
Research behind this program
- Qaseem A, Wilt TJ, McLean RM, Forciea MA, et al. Ann Intern Med, 2017. PMID 28192789
Auto Injury Chiropractic
Same-day visits at three clinics
Oregon City
1404 Molalla Ave
Oregon City, OR 97045
Mon to Thu 9:00am to 6:00pm
Fri 9:00am to 1:00pm
Milwaukie
13152 SE Rusk Rd
Milwaukie, OR 97222
Mon to Thu 9:00am to 6:00pm
Fri 9:00am to 1:00pm
Troutdale
233 E Columbia River Hwy
Troutdale, OR 97060
Mon to Thu 9:00am to 6:00pm
Fri 9:00am to 1:00pm